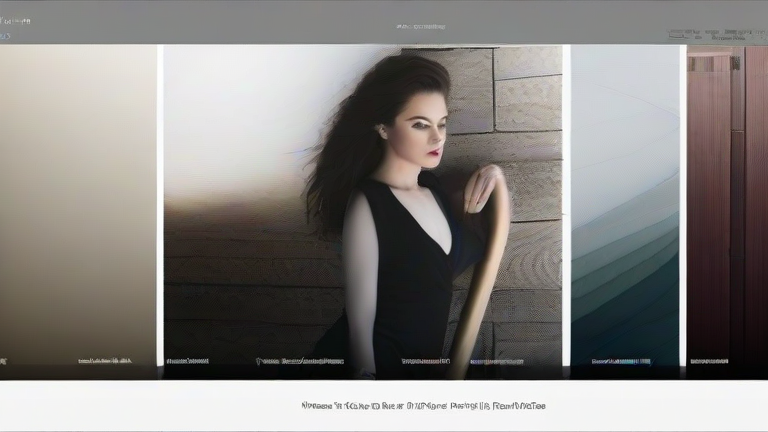
Step-by-Step Guide to Mastering Lightroom Presets
TL;DR: Master Lightroom presets by understanding their underlying adjustments and learning to fine-tune them for specific lighting conditions. Treat presets as starting points, not final fixes, and always adjust exposure, color balance, and tone to match the unique characteristics of each individual photograph.
Many photographers fall into the trap of applying a preset and moving on, assuming the job is done. However, true mastery lies in knowing how to modify these saved settings to serve your creative vision. The first step in this process is understanding the anatomy of a preset. A preset is essentially a collection of specific values for exposure, contrast, highlights, shadows, whites, blacks, color, and detail. Before you apply any preset, ensure your photo has been properly exposed. If your image is significantly underexposed or overexposed, no preset can save the dynamic range or recover lost data. Always begin with a neutral histogram to give your preset the best possible foundation to work with.
If you want to dig deeper, check out our guide on How to Share Big Wins Online Without Looking Arrogant.
Next, apply your chosen preset and immediately assess the result. Look for clipped highlights or crushed shadows, which are common issues when presets are applied indiscriminately. Use the Histogram panel to identify these problem areas. If the sky is blown out, lower the highlights slider. If the shadows look muddy, lift them slightly. This step is crucial because presets are often designed for specific lighting scenarios, such as golden hour or overcast days. Applying a warm, bright preset to a moody, low-light image will likely result in a flat, noisy photograph. Therefore, you must be prepared to make manual corrections after the initial application.
Color grading is the next area to refine. Presets often include HSL (Hue, Saturation, Luminance) adjustments that may clash with your subject. For example, a preset that boosts orange saturation might make skin tones look unnatural. Adjust the hue and saturation sliders to ensure colors look natural or stylized according to your intent. Pay close attention to the Luminance sliders, as they allow you to darken or lighten specific colors without affecting their intensity. This technique is powerful for creating depth and focus, such as darkening green foliage to make a subject stand out or lightening blue skies to add vibrancy.
Finally, consider using preset stacks or blend modes if you are using Lightroom Classic. This allows you to layer multiple effects, such as a base exposure preset combined with a specific grain or vignette style. Experimenting with these layers gives you greater control over the final aesthetic. Remember that consistency is key, but so is adaptation. The best photographers use presets to speed up their workflow, not to replace their artistic judgment. By treating each photo as unique and willing to spend extra minutes adjusting the sliders, you will achieve a professional look that feels authentic and tailored to your specific image. Practice this workflow regularly to build muscle memory, allowing you to make these adjustments quickly and confidently in the future.
FAQ
Q: Can I use the same preset for every photo?
A: No, presets are best used as a starting point. You must adjust exposure, color, and tone for each image to account for different lighting conditions and subjects.
Q: What is the most important adjustment to make after applying a preset?
A: The most critical adjustment is usually fixing the exposure. Check the histogram for clipped highlights or shadows and adjust the Exposure, Highlights, and Shadows sliders accordingly.
Q: How do I create my own custom preset from a photo I edited?
A: After editing a photo to your satisfaction, click the plus icon in the Presets panel, choose a name and category, and ensure the checkboxes for the adjustments you want to save are selected. Then, click Create.
Leave a Reply