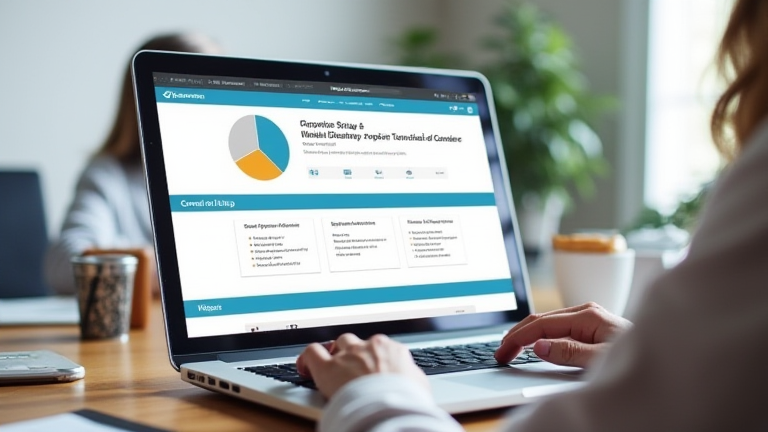
TL;DR: Set up Notion for student life by creating a free account, building a dashboard with linked databases for classes, assignments, and notes, then customizing templates and reminders to match your workflow. This guide walks you through each step so your semester stays organized from day one.
Step 1: Create Your Account and Workspace
Go to notion.so and sign up with your student email—you may qualify for a free Personal Pro plan. Choose a clear workspace name like “[Your Name]’s Semester Hub” and skip the sample content so you start with a clean slate.
If you want to dig deeper, check out our guide on Top GLP-1 Alternatives: The New Wellness Discourse.
Step 2: Build a Student Dashboard
Create a new page and title it “Dashboard.” This is your home base. Add a callout block at the top with your semester dates and a short list of your top goals. Below it, you’ll link the databases you create in the next steps so everything is one click away.
Step 3: Create a Classes Database
Type /database and choose “Table.” Name it “Classes” and add properties: Course Name (title), Professor (text), Schedule (text), Room (text), and Credits (number). Add one row per course. Switch to a Gallery view and add a cover color for each class to make scanning easy.
Step 4: Create an Assignments Database
Make a second table called “Assignments” with properties: Task (title), Course (relation to your Classes database), Due Date (date), Status (select: Not Started, In Progress, Done), and Priority (select: High, Medium, Low). The relation property is the key move—it lets you filter assignments by class instantly.
Step 5: Set Up a Notes System
Create a “Notes” database with properties for Course (relation), Topic (title), and Date. Inside each note page, use headings, toggle lists, and the code block for formulas. Tip: keep one note page per lecture rather than one giant page per course—it stays searchable and fast.
Step 6: Link Everything to Your Dashboard
Return to your Dashboard and type /linked view of database three times—once for Classes, once for Assignments filtered to “Status is not Done” sorted by Due Date, and once for recent Notes. Now your entire semester fits on one screen.
Step 7: Add Templates and Reminders
Use the template button block on your Dashboard for a weekly review checklist. Set due dates on assignments and enable Notion’s calendar view to spot crunch weeks early. Tip: review your dashboard every Sunday for ten minutes—it’s the habit that makes the system work.
FAQ
Q: Is Notion free for students?
A: Yes—the Personal plan is free, and students with a school email can often claim a free Personal Pro plan, which adds unlimited file uploads and guest access.
Q: Do I need to build everything from scratch?
A: No. Notion’s template gallery has ready-made student dashboards; duplicate one and adjust the properties rather than starting from zero.
Q: How do I keep Notion from becoming a time sink?
A: Limit yourself to three databases (Classes, Assignments, Notes) for the first month, and only add features once the basics feel automatic.
Leave a Reply