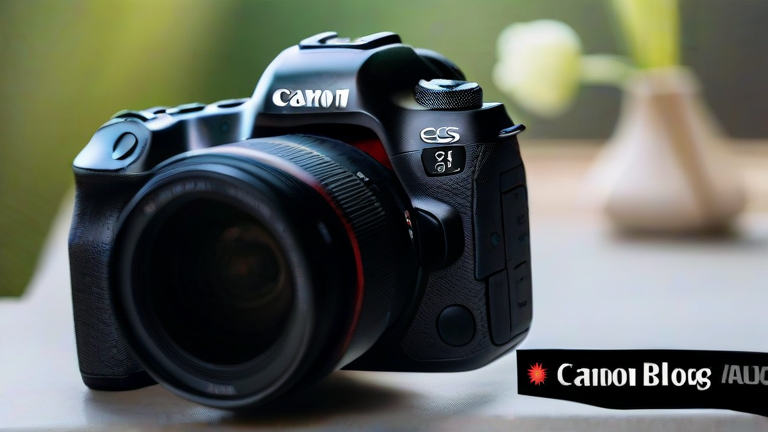
TL;DR: Start by mounting your Canon EOS R5 on a sturdy tripod and switching it to Video mode. Then, select your desired resolution and frame rate, ensuring you have ample battery life and fast memory cards for smooth recording.
Getting Started with Your Canon EOS R5
The Canon EOS R5 is a powerhouse hybrid camera that can produce stunning 8K and 4K video content. However, its vast array of settings can overwhelm beginners. This guide simplifies the process into manageable steps, allowing you to capture professional-looking footage without getting lost in technical jargon. By following these structured instructions, you will quickly become comfortable with the camera’s interface and capabilities.
Step 1: Preparation and Setup
Before you press record, ensure your hardware is ready. Mount the EOS R5 on a stable tripod to minimize unwanted shake. Insert a high-speed SD card or CFexpress card, as 4K and 8K video require fast write speeds to avoid buffer issues. Charge your batteries fully, or connect a dummy battery to a power source for long sessions. Attach a lens that suits your subject, keeping in mind that the EOS R5 uses the RF mount system.
Step 2: Configuring Video Settings
Turn the mode dial to the video camera icon. Navigate to the Q menu for quick access to essential settings. First, choose your resolution. For most beginners, 4K UHD at 30p or 24p is ideal. It offers high quality without the immense file sizes of 8K. Next, select your frame rate. 24 frames per second provides a cinematic look, while 30 or 60 fps offers smoother motion for vlogs or action shots.
Step 3: Autofocus and Stabilization
One of the EOS R5’s greatest strengths is its Dual Pixel CMOS AF II. Enable subject detection by going into the AF settings. You can choose to track eyes, faces, or even animals and vehicles. This ensures your subject remains sharp even if they move. Additionally, enable Digital IS (Digital Image Stabilization) in the menu. This software-based stabilization works well with RF lenses to reduce jitter. If you use a lens with Optical IS, you can disable Digital IS to prevent conflict.
Step 4: Recording and Monitoring
Frame your shot using the electronic viewfinder or the rear LCD screen. Check your exposure by looking at the histogram or using the zebras feature, which highlights overexposed areas. Press the red record button to start. Monitor your audio levels if using an external microphone. The EOS R5 has built-in microphones, but for better quality, use a 3.5mm jack input. Record a short test clip to ensure everything is functioning correctly.
Step 5: Post-Recording Workflow
After filming, power down the camera properly. Transfer your footage to a computer using a card reader for faster speeds. Organize your files into folders by date or project. Import them into your preferred editing software. The EOS R5 shoots in MP4 or MOV formats, which are widely compatible. Consider color grading to enhance the look, but start with basic cuts and transitions to build confidence.
FAQ
Q: Can the Canon EOS R5 overheat during long recording sessions?
A: Yes, it can overheat in 8K mode. Use 4K with C-Log3 for better thermal management, or enable the cooling fan if available.
If you want to dig deeper, check out our guide on Bucket Kicked the Bucket? Fix It & Prevent This! 😭.
Q: What is the best memory card for the EOS R5?
A: Use CFexpress Type B cards for 8K and 4K 120fps. For 4K 30p, a high-end UHS-II SD card is sufficient and more cost-effective.
Q: How do I enable Log gamma for better color grading?
A: Go to the Movie Rec menu, select C-Log3, and ensure your white balance is set manually for consistent colors.
Leave a Reply