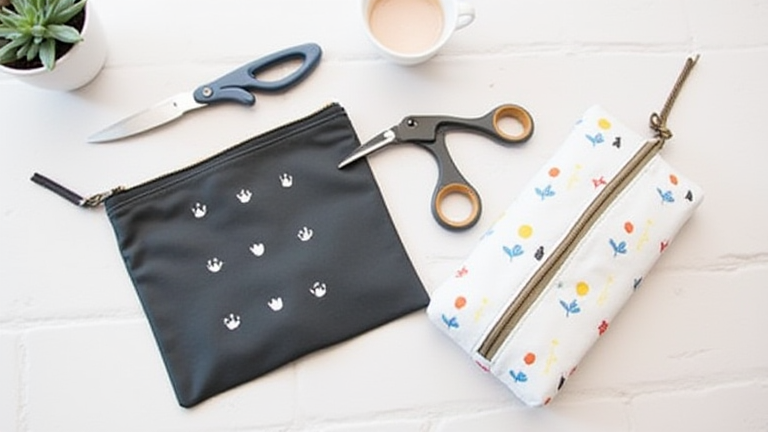
How to Sew a Zipper Pouch: Beginner Step-by-Step Tutorial
TL;DR: Cut two identical fabric pieces, sew them together with the zipper sandwiched between the raw edges, and turn right side out. This simple project requires basic sewing skills and yields a functional, personalized accessory in under an hour.
Creating a zipper pouch is one of the most rewarding beginner sewing projects because it combines essential techniques like straight stitching, turning corners, and installing hardware. Before you begin, gather your materials: two pieces of fabric (main and lining if desired), a zipper slightly shorter than your pouch width, matching thread, scissors, pins, and an iron. Start by cutting your fabric pieces. If your zipper is eight inches long, cut your fabric pieces to be two inches wider and two inches taller than the zipper to allow for seams and depth. Press your seams flat to ensure crisp, professional-looking edges.
If you want to dig deeper, check out our guide on BIFL Not Made in USA: Complete List & Guide.
Next, prepare the zipper. Place the main fabric piece face down on your work surface. Lay the zipper face down on top of the fabric, aligning the teeth with the top edge. Pin the zipper in place, ensuring it is centered. Sew along the zipper teeth using a zipper foot or a regular presser foot if you are confident. Stitch close to the teeth but do not sew through them. Repeat this process on the other side of the zipper with the second fabric piece. This creates a sandwich effect where the zipper is protected between the fabric layers.
Once the zipper is attached, open it fully. Now, you need to attach the bottom and sides. If you are making a simple rectangular pouch, you will sew the side seams and the bottom seam. However, a classic zipper pouch often has a “V” shape at the top or simply a rectangular body. For this guide, we will stick to a rectangular design for simplicity. Fold the two fabric pieces together with right sides facing in. Pin the sides and bottom closed, leaving the top open. Sew along the sides and bottom, leaving a small turning gap if you are using a lining, though for a single-layer pouch, you can sew all the way around.
Trim the corner seams diagonally to reduce bulk. This is a crucial step for neat corners. Turn the pouch right side out. Use a chopstick or pointy tool to push out the corners so they are sharp and defined. Press the entire pouch with an iron to smooth out any wrinkles. Finally, topstitch around the edges for a professional finish. This topstitching adds durability and a polished look. Your pouch is now ready to use for storing coins, jewelry, or small essentials.
Tips for Success: Always pre-wash your fabric to prevent shrinking later. Use a walking foot if you are struggling with feeding the fabric evenly through the machine. If the zipper pull interferes with your sewing, remove it temporarily and reattach it after the project is complete. Keep your fabric taut but do not pull it too hard, as this can cause the machine to pucker the fabric.
FAQ
Q: What type of zipper should I use for a beginner project?
A: Use a standard metal or plastic coil zipper that is slightly shorter than your desired pouch width to ensure easy handling.
Q: Can I make a pouch with a lining?
A: Yes, you can add a lining by sewing the lining pieces together separately and inserting them inside the main fabric before closing the seams.
Q: How do I fix a crooked zipper installation?
A: If the zipper is crooked, you can carefully unpick the stitches with a seam ripper and re-pin the zipper to ensure alignment before sewing again.
Leave a Reply