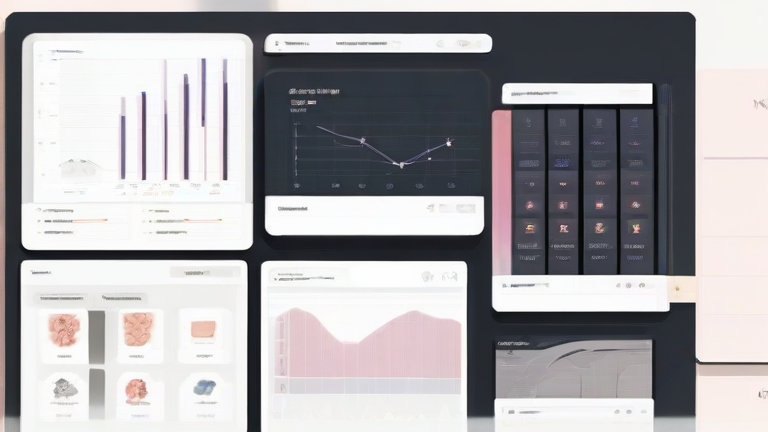
TL;DR: Create a centralized Notion dashboard by linking key databases for projects, notes, and goals to streamline your workflow. Use templates and databases to automate organization, ensuring all your digital information is accessible from a single, intuitive view.
Step 1: Define Your Core Pillars
Before building, identify the main areas of your life or work that require tracking. Common pillars include Personal Projects, Work Tasks, Learning Resources, and Journaling. Decide which of these need to be prominent on your dashboard. This step ensures your second brain is relevant to your specific needs rather than becoming a cluttered mess. Avoid overcomplicating the structure initially; start simple and expand later.
Step 2: Create Databases for Each Pillar
In your Notion workspace, create a separate database for each pillar identified in Step 1. For example, create a “Projects” database with properties like Status, Deadline, and Priority. Create a “Notes” database with tags and dates. Each database acts as a modular component of your brain. Ensure you use consistent property names across similar databases to maintain clarity. This modular approach allows you to update one section without disrupting the entire system.
Step 3: Build the Main Dashboard Page
Create a new page titled “Second Brain Dashboard.” This page will serve as your homepage. Do not add content directly to this page yet. Instead, this page will act as a container for linked views of your databases. Keep the design clean and minimal. Use the “Text” block to add a brief description of the dashboard’s purpose. This central hub will be the first thing you open every day, so it must be visually appealing and easy to navigate.
Step 4: Insert Linked Database Views
Inside the dashboard page, type `/linked` and select the databases you created earlier. For each database, choose the view type that is most useful. For tasks, use a “Board” view to see progress at a glance. For notes, use a “Table” view for quick scanning. Filter these views to show only active or high-priority items. For instance, in the Projects view, filter by “Status: In Progress.” This customization ensures you only see what is relevant right now, reducing cognitive load.
Step 5: Add Quick Capture and Templates
Add a “Quick Capture” section at the top of your dashboard. This can be a simple text box or a dedicated database for fleeting thoughts. Create templates for common tasks, such as “Weekly Review” or “New Project Setup.” Place these templates in a sidebar or a specific section. Using templates speeds up your workflow and ensures consistency in how you record information. This step transforms your dashboard from a passive display into an active tool for productivity.
Step 6: Customize and Refine
Use Notion’s design features to make the dashboard intuitive. Add icons and cover images to make it visually engaging. Use toggles to hide less frequently used sections. Test the dashboard by using it for a week. Note any friction points, such as hard-to-find information or confusing views. Adjust filters and layouts based on this feedback. A well-refined dashboard adapts to your changing needs over time.
Tip: Keep your dashboard on a single screen if possible. Use the “Fullscreen” mode to maximize focus. Regularly review and prune old items to prevent clutter. A cluttered second brain is an inefficient second brain.
If you want to dig deeper, check out our guide on Does BNPL Really Increase Sales? Real User Experiences.
FAQ
Q: Can I use this dashboard on mobile?
A: Yes, Notion is fully responsive. However, complex dashboards may require more scrolling on mobile. Simplify views for mobile access if needed.
Q: How often should I update my dashboard?
A: Update it daily for quick capture and weekly for deeper reviews. Consistency is key to keeping your second brain current and useful.
Q: What if I don’t know what to include?
A: Start with one pillar, like Tasks. Expand only when you feel a need for more organization. Simplicity
Leave a Reply