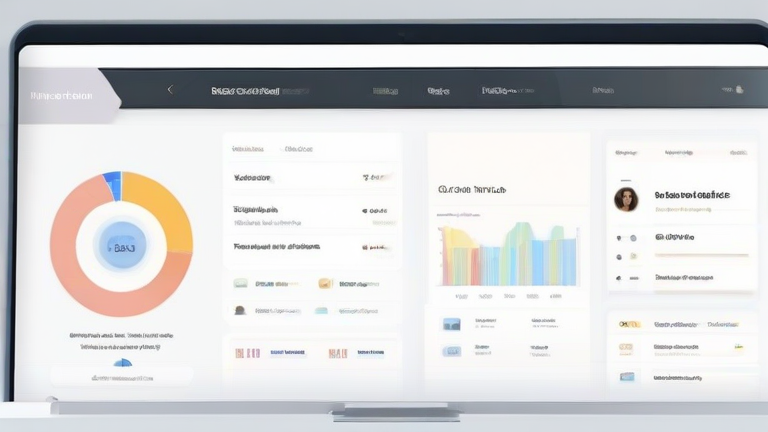
TL;DR: Build a personal dashboard in Notion by creating a full-page database, adding filtered views, embedding widgets, and using linked databases for quick capture. This guide walks you through 5 steps to turn a blank page into a command center for tasks, goals, and habits.
Step 1: Create Your Master Database
Open Notion and click “+ New Page” – name it “Dashboard.” Type “/database” and select “Table – Inline.” Add columns: Task, Status (Select: To Do, In Progress, Done), Priority (High, Medium, Low), Due Date, and Category (Work, Personal, Health). This master database is your single source of truth. Tip: Keep it simple – you can add more properties later, but don’t over-engineer at the start.
If you want to dig deeper, check out our guide on How to Start a Dropshipping Business With Shopify: 12-Step G.
Step 2: Build Filtered Views (Today, This Week, All)
Click the “+” next to your table’s tab name. Create three views: “Today” (filter: Due Date is today), “This Week” (Due Date is within next 7 days), and “All Tasks” (no filter). For each view, switch layout to “Board” or “List” depending on preference. Tip: Use “Group by Status” in Board view to see your workflow at a glance. Rename the default “Table” view to “Master” to avoid confusion.
Step 3: Add Quick Capture & Inbox
On your dashboard page, type “/linked view of database” and select your master database. Set this linked view to “Inbox” – filter Status is “To Do” and Priority is blank (or “No Priority”). This becomes your “capture zone.” Tip: Add a simple “/callout” block above it with text like “Add anything here – sort later.” You can also use Notion’s mobile widget to send tasks directly to this database.
Step 4: Embed Life Widgets (Weather, Calendar, Timer)
On the same page, type “/embed” and paste URLs for free widgets like a weather forecast (e.g., from weatherwidget.io) or a Pomodoro timer (e.g., pomofocus.io). For a calendar, use “/calendar” to embed a Google Calendar iframe. Tip: Keep these below your task views – they are ambient, not primary. If a widget slows your page, remove it; speed matters more than visual flair.
Step 5: Add Habit Tracker & Weekly Review
Below your database, create a simple habit tracker using a “/checkbox” list for daily habits (drink water, exercise, read). Then add a “Weekly Review” toggle block (“/toggle”) with a checklist: “What went well? What’s stuck? Plan next week.” Tip: Set a recurring reminder (type “/remind”) to open your dashboard every Sunday at 5 PM.
FAQ
Q: Can I use this dashboard on mobile?
A: Yes, but hide heavy widgets (weather/timer) on mobile by clicking “…” on that block → “Hide on mobile” to keep it fast.
Q: How do I prevent duplicate tasks between views?
A: You don’t – views are filters of the same database. Edit one task, and it updates everywhere automatically.
Q: What if I need multiple categories like “Finance” or “Travel”?
A: Just add those options to the Category select property – no new database needed. All views will still filter correctly.
Leave a Reply